Showing posts with label Technic. Show all posts

Sunday, September 27, 2020

AWD Lego Custom made Car using Raspberry Pi - Part 1

 Idea

Use Raspberry Pi to control this custom made car model. 

Implementation

Bill of Materials

Hardware

  1. Raspberry Pi Zero W
  2. Raspberry Pi, 1 to 2 expansion
  3. Pi Juice Hat
    1. Amazon, very costly but looks like latest model
    2. Digikey, fair price but looks like old model
  4. Adafruit Motor Bonnet for Raspberry Pi
  5. DFrobot RPi zero IO Expansion Hat
  6. DFrobot Ultrasonic Sensor, URM09 Analog 
  7. DFronot i2c Digital Wattmeter 
  8. Mini Breadboard
  9. 3mm LED for front light
  10. Micro LED 0603 for back light
  11. 1.5V AA Batteries
    1. I used EBL ones
  12. Lego Power Functions Servo Motor
    1. One for steering and one for Transmission
  13. Lego Power Functions L-Motor
    1. I used two
  14. Lego Power Functions Battery Box for AA
  15. Lego Power Function Extension Cable, 20"
  16. Dupont Connector Kit
  17. Crimping Tool for Dupont Connectors
  18. Ferrule Crimping Toolset
  19. Wire Stripping Tool
  20. Paper/Utility knife
    1. To cut and separate wires of Lego extension cable

Software

  1. Raspberry Pi OS Lite, 
    1. with no GUI as it's not needed on Car
  2. Adafruit python library for Motor Bonnet
    1. Edit /usr/local/lib/python3.7/dist-packages/adafruit_motorkit.py or locate adafruit_motorkit.py based on installation
    2. Add default parameter, pca_frequence=1600 like this


    3. Dfrobot Wattmeter Code
    4. PiJuice Code
    5. My Test Code. FOR REFERENCE ONLY, DON'T JUST COPY PASTE and USE IT.
      1. Controller.py
        1. Main file to control the car, it uses curses lib.
        2. + is shift up, - is shift down
        3. w is steering straight, a is steering left, d is steering right
        4. s is to stop
        5. UP arrow increase Throttle/power to motor
        6. Down arrow decrease Throttle/power to motor
        7. q to quit
      2. car.py
        1. Module which implements Car's functionalities

Wiring

I use Lego Extension cables when connecting Lego motors and motor driver board. This way, Lego motors can be reuse in pure Lego based projects.

Cable for Lego Power Functions Battery

Lego cable has four wires. Wires on each side doesn't change polarity when battery box switch turns to either side. Right outer cable is +ve and left outer is -ve. Use this to attach to desired power source. 
See this picture to get an idea


Caution: Use multi meter to confirm polarity

Cable for Lego Power Functions Motor

Middle two wires are used to power Lego PF motors. 
I prefer to use light grey head side, (which doesn't fit the battery), for motor connection as it can be attached to Lego Buggy Motor. Picture for information 

Cable for Lego Power Functions Servo

Lego PF servo uses all four wires. Side wires are to power and middle two wires are used to set duty cycle and direction. I use breadboard to share battery power with PF Servos.

See picture for idea 

Also see Ideas on how to Control Lego Servo

Setup

My Raspberry Pi Zero W with other boards stacking looks like this


  1. Raspberry Pi Zero W
  2. 1 to 2 GPIO Expansion Kit
    1. Motor Driver board  to the side
    2. Pijuice on Top side of GPIO Expansion Kit
    3. IO Expansion kit
    4. Breadboard attached to the kit
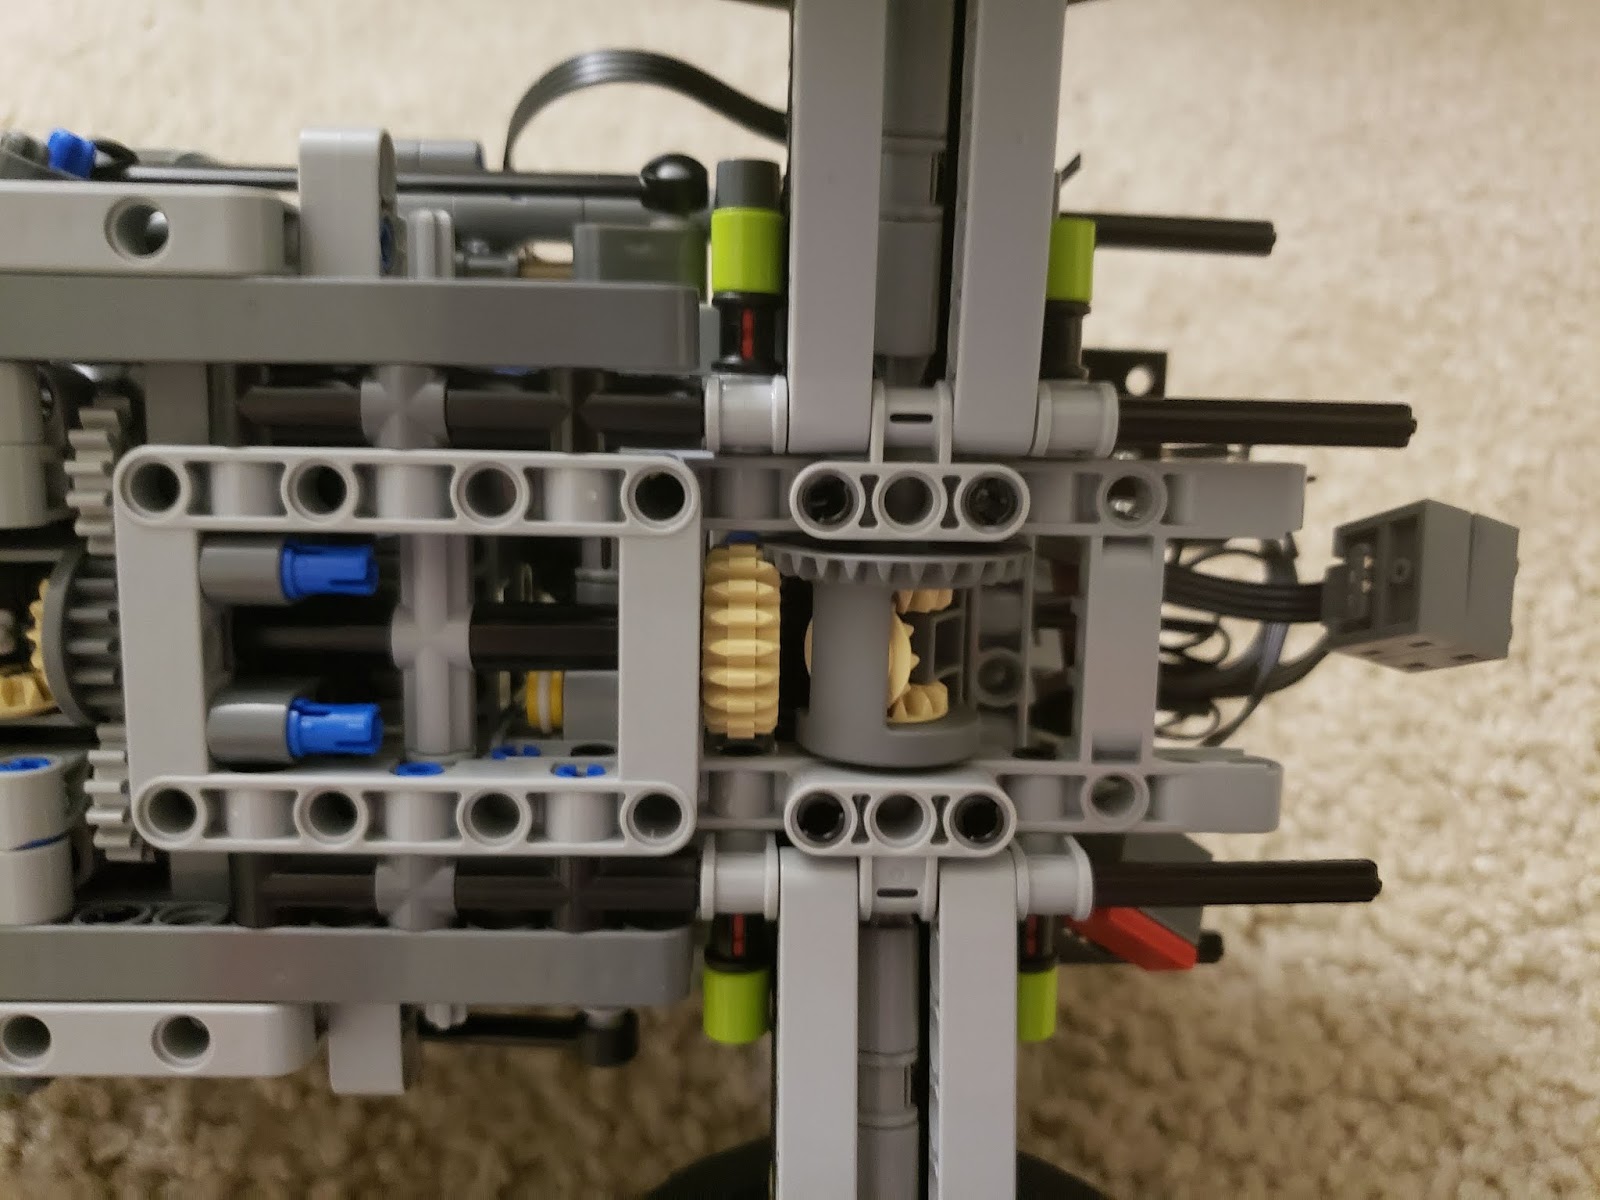
More pictures from different sides


I updated model and attached, camera, distance sensor, lights, though they are not operational yet. Model looks like this


Demo

Without Load

Or 

Running on floor

Or 

Note engine speed on shifting to 4th gear, it's slow. Reading motor battery was on 3V. Not sure if batteries were not able to handle such load or was there any other issue.

Next Step

  1. Hook up sensors, lights, Camera and Automated Action
  2. Use a Remote not laptop, which looks something like this
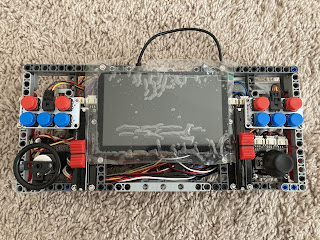


    1. Yep, it has Google Coral 
Saturday, September 21, 2019

Semi-Autonomous AWD Transmission Vehicle using Lego Technic - Phase 1

Idea

Create a Lego Technic based vehicle with AWD transmission. The vehicle should avoid front, sides and back collisions using Sensors(Ultrasonic, Infrared etc). 

Control vehicle using a remote. The remote should offer functions like steering, speed, transmission. Remote should also show relevant information like sensor readings, steering, speed, transmission etc. 

Execution

Chassis

I used Formula off-roader 42037 as base and reused most of its parts. For front steering with differential, I took idea from The Unofficial LEGO Technic Builder's Guide, 2nd Edition book.

The chassis uses two l-motor-88003 motors in coupling mode, one servo for steering and one servo to shift gears. These motors are powered using AA battery box.

I used Extension Wires and attached Dupont Connectors to it. This way, motors can be re-used in pure Lego projects. I used this tool for crimping

AWD Transmission

I modified Sequential AWD 4-speed gearbox with V8 fake engine and fit it in the chassis. I also replaced two gear changing knobs with gears. I was hoping that gear would help in gear shift using servos but I failed to achieve what I wanted. Will talk about it later


Motor Driver Board

I used All-in-one Robotics Board for BBC micro:bit. It's nice board with ability to drive four motors. This board can get input from AAA or AA battery box due to it's high input voltage.

Remote

For now, I used Yahboom Gamepad Joystick Breakout Board for BBC Micro:bit. But my plan is to use elecfreaks-joystick-bit with iic-oled later.

Current remote is showing Power/Speed level, Gear shifts and steering using Micro:bit led screen.

To-Do

  1. Fix steering angle, for now it's ratio is 1.67:1
  2. The overall build is not sturdy. It's front wheels wobbles on steering
  3. Gear slips when driving on slope or climbing high objects
  4. Gear doesn't shift to 2 and 4 as i am not able to step servo between 0 and 180
  5. Attach steering with servo   
  6. Attach Sensors
  7. Beautify the model

Demo

Pictures


Video

Driving


Gear Slip


Driving Slope


Climbing Object


Code

Remote

Car


***Update-1***

Fixed clicking sound in gear system by putting a beam next to Differential


Videos

No click going up hill


No click on climbing object


***Update-2***

Fixed stepping through servo. Lego PF Servo responses to 1150Hz PWM and uses duty cycles to step through its 15 positions. I will post a bit details about it in separate blog.

I modified code for the shield to work with Lego PF. The code is available here