Control Lego Power Functions Servo motor to it's full functionality. The Servo motor moves to 90 degree on both sides assuming, center is at 0 and it can also do 7 steps to each side.
Implementation
Lego Power Functions uses PWM frequency of 1150 Hz. Using this frequency, Power Functions servo can do 7 steps using duty cycles, 26.6, 38.9, 51.2, 63.0, 75.0, 87.2 and 100. I confirmed my tinkering with oscilloscope, that it is giving correct frequency and duty cycles.
Below are my findings so far
Microbit
Kitronik All in one Robotic board
This is the first board, I have tinkered with. It can be powered with Lego 8881 battery box. By setting PCA frequency to 1150, it can step through with correct duty cycles.
The microbit Makecode is here. To set desired PWM frequency for this board, see line 132 in robotics.ts. I also added a functionality to brake motor, see Line 303 robotics.ts
Dfrobot Driver expansion board
My tinkering failed with this board. After updating the code, stepping always tunring motor to all the way 90 degree. Oscilloscope reading was not showing correct frequency and duty cycle which I was using.
I don't have electrical, electronics knowledge but my guess is it is due to the design of the board. This board has led which light up when motors are running. These leds are lighting up when move motors by hand.
Elecfreaks Motor:bit
This board just have a TB6612 based motor driver chip. PWM has to be set by Microbit using analogSetPeriod. See forward function here at Line 24
The board is available here, Adafruit has detailed steps on how to use this board with Raspberry Pi, so just used those steps
By default, PWM frequency is set to 1600. After installing the library, I changed the code to accept pca_frequency when creating the class object. To do so
Edit /usr/local/lib/python3.7/dist-packages/adafruit_motorkit.py or locate adafruit_motorkit.py based on installation
Add default parameter, pca_frequence=1600 like this
Wiring
Lego PF servo uses all four wires. Side wires are to power and middle two wires are used to set duty cycle and direction.
I use Lego PF Extension wires to connect Servo with custom Motor Driver boards. This way the motor can be reuse in Pure Lego based projects
This picture should give an idea about wiring and connections
Create a Lego Technic based vehicle with AWD transmission. The vehicle should avoid front, sides and back collisions using Sensors(Ultrasonic, Infrared etc).
Control vehicle using a remote. The remote should offer functions like steering, speed, transmission. Remote should also show relevant information like sensor readings, steering, speed, transmission etc.
The chassis uses two l-motor-88003 motors in coupling mode, one servo for steering and one servo to shift gears. These motors are powered using AA battery box.
I modified Sequential AWD 4-speed gearbox with V8 fake engine and fit it in the chassis. I also replaced two gear changing knobs with gears. I was hoping that gear would help in gear shift using servos but I failed to achieve what I wanted. Will talk about it later
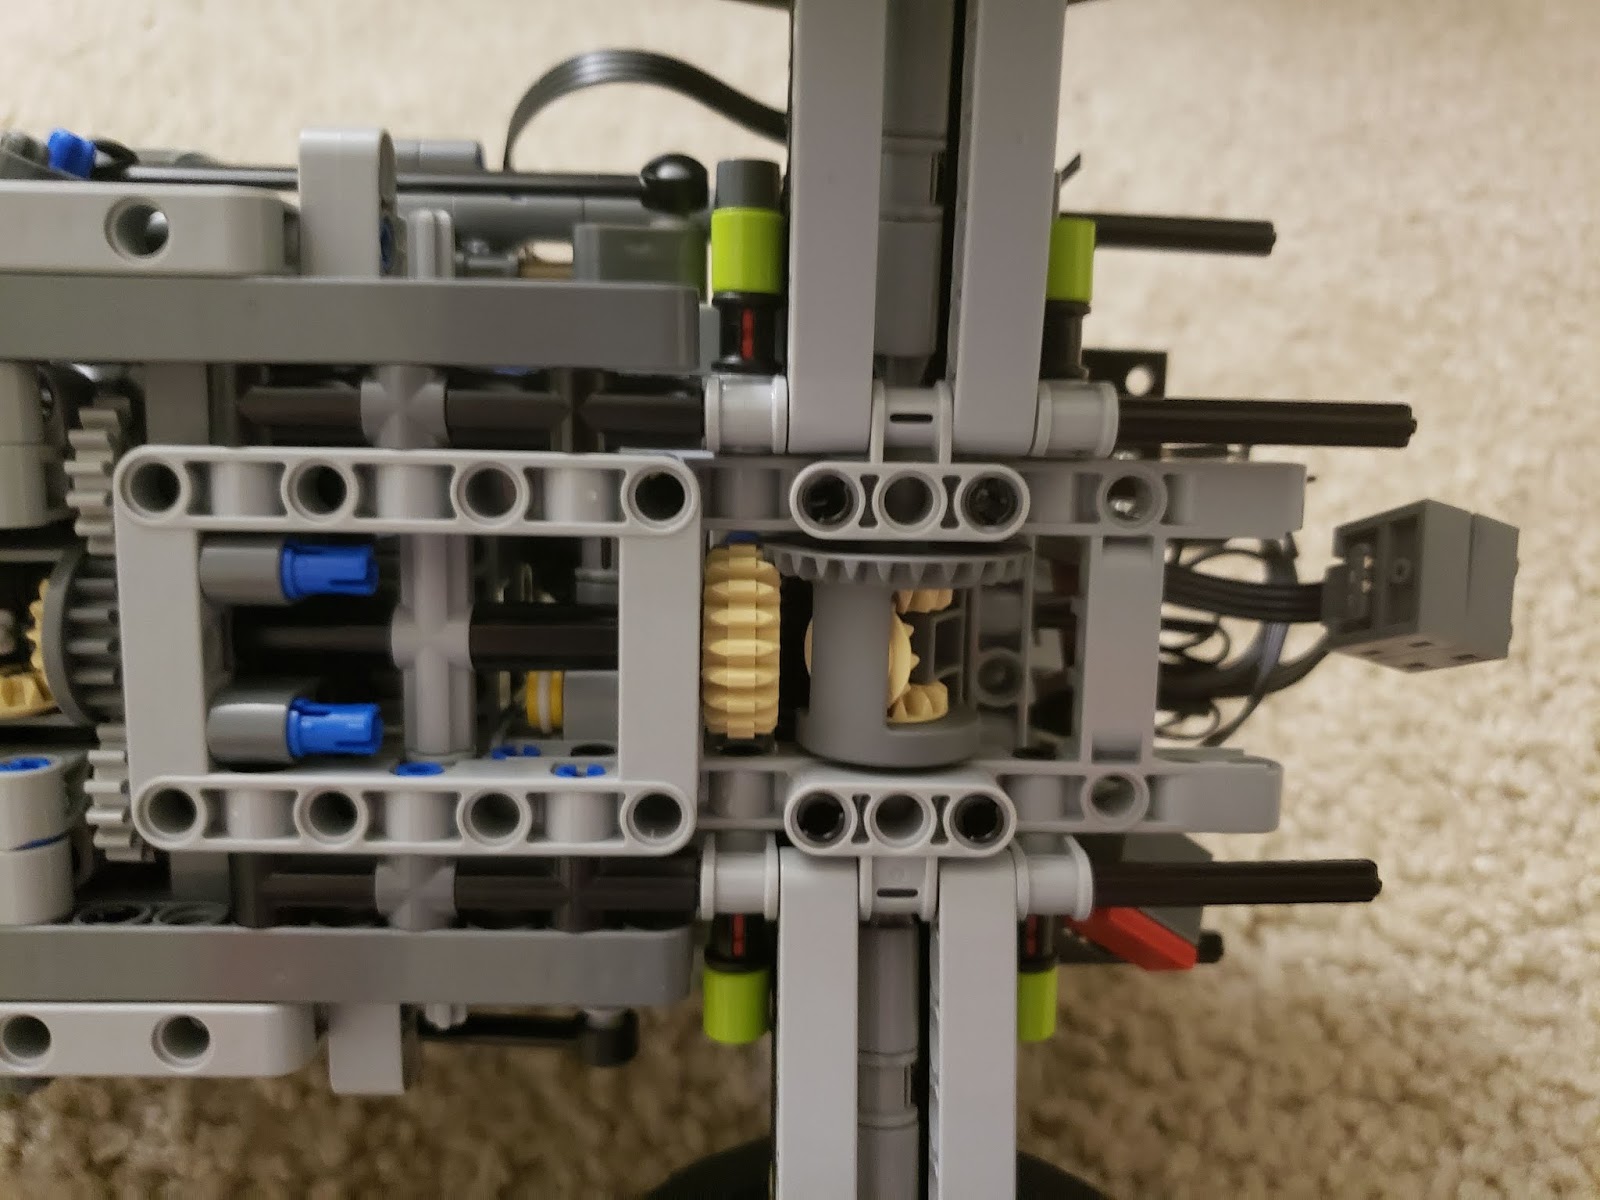
Fixed clicking sound in gear system by putting a beam next to Differential
Videos
No click going up hill
No click on climbing object
***Update-2***
Fixed stepping through servo. Lego PF Servo responses to 1150Hz PWM and uses duty cycles to step through its 15 positions. I will post a bit details about it in separate blog.
I modified code for the shield to work with Lego PF. The code is available here